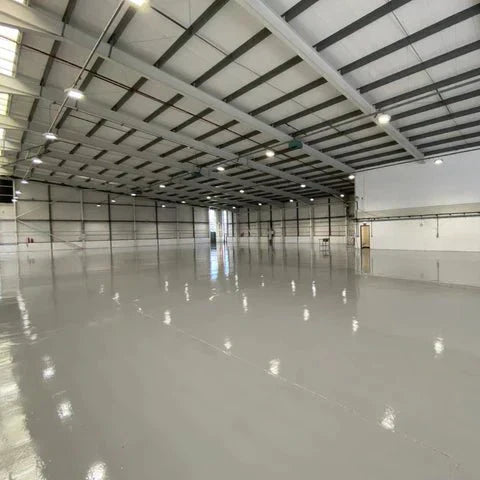
Upgrading your workshop, warehouse, garage, or commercial flooring with a high-performance epoxy coating might sound intimidating—but with the right preparation and products, the process can be straightforward, rewarding, and long-lasting. At Premium Paints, we’ve helped thousands of customers transform tired concrete surfaces into smooth, glossy, hard-wearing floors that not only look professional but also stand up to daily wear and tear.
In this comprehensive guide, we’ll walk you through the exact steps needed to apply Everest Trade HB Epoxy Floor Paint like a pro, even if you’re tackling the job yourself for the first time.
🧹 Step 1: Surface Preparation
Proper preparation is the most important step in achieving a flawless finish.
✅ Clean and Dry the Surface Thoroughly
Start by sweeping and vacuuming the entire surface to remove loose dust and debris. Use a degreaser or detergent if there are oil stains or any form of contamination. It’s essential that the surface is:
-
Free from oil, grease, dust, and loose particles
-
Completely dry before application
✅ Repair Any Cracks or Holes
For the best finish, patch up holes or cracks using a concrete repair mortar or filler. The final appearance of the floor will reflect the quality of your preparation—so take the time to ensure the surface is smooth and solid.
✅ Etch, Grind, or Scarify for Adhesion
For best results, especially on power-floated or sealed concrete, mechanically prepare the surface using a floor grinder or scarifier. This helps the epoxy coating bond effectively and reduces the risk of delamination. Floor grinders are widely available for hire at most tool rental stores.
Recommended Surface Temperature:
Between 5°C and 25°C.
Too cold and the epoxy may not cure properly. Too warm and it could cure too quickly to work with.
⚙️ Step 2: Product Preparation
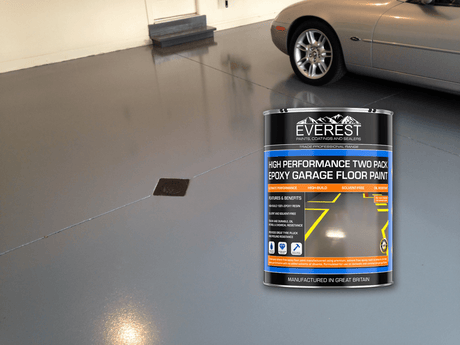
Everest Trade HB Epoxy Floor Paint is a two-part system, consisting of a resin base (Part A) and an activator (Part B). Once mixed, you’ll have a pot life of roughly 30 minutes, so only mix what you can apply in that window.
✅ Get Your Mixing Station Ready
Prepare a clean, disposable area with plastic sheeting or cardboard to catch any spills.
✅ Tools You’ll Need:
-
Electric drill with paddle mixer
-
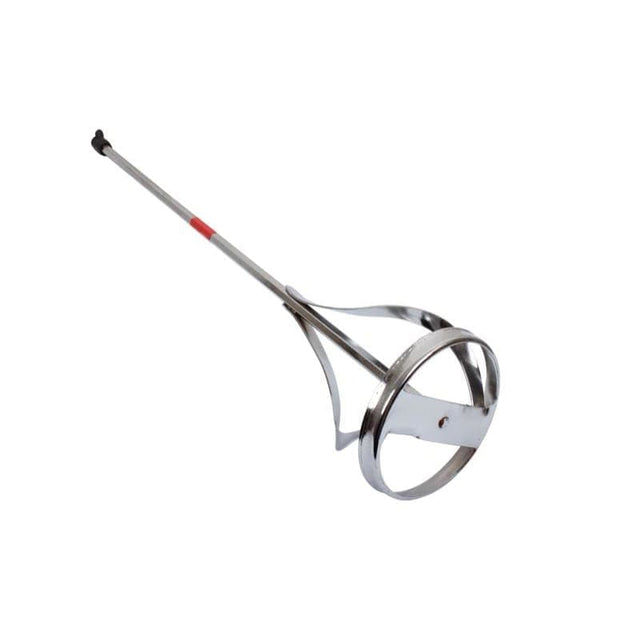
ProDec 24" Drill Fit Stirrer (specially designed for epoxy mixing)
-
Paint scuttle or tray
-
Paintbrushes for edging
-
Masking tape (optional)
✅ Mixing Instructions:
-
Stir Part A (resin) on its own for 1–2 minutes.
-
Add Part B (activator) and continue mixing thoroughly for another 1–2 minutes.
-
Ensure there are no streaks or unmixed material—consistency is key.
⚠️ Don’t delay—once mixed, you have 30 minutes before the product begins to cure.
🎨 Step 3: Applying the Epoxy Floor Paint
With your surface prepared and your first unit mixed, it’s time to get painting.
✅ Cut In Around Edges First
Use a brush to paint along the edges, corners, and hard-to-reach areas first. This allows you to roll freely without needing to pause later for detailing.
✅ Work in Measured Sections
Mark out your floor in sections based on your coverage rate. A 5kg unit will cover approximately 17–20m² depending on surface porosity. This helps ensure even thickness and prevents running out mid-way.
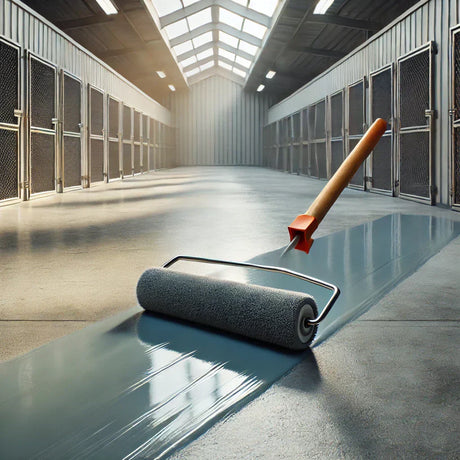
✅ Begin Rolling
Pour the mixed epoxy into a scuttle or tray and apply with a heavy-duty roller. Roll in thin, even layers using an M or W motion, ensuring no puddling.
⚠️ Expect the First Coat to Look Patchy
This is completely normal on bare concrete or porous floors. The second coat will even everything out and provide the full gloss finish.
✅ Remove Masking Tape
If using masking tape, remove it carefully before the paint begins to cure to avoid tearing or pulling at the surface.
⏱️ Step 4: Curing and Second Coat
✅ Allow the First Coat to Cure
At 20°C, allow the paint to cure for at least 12 hours. The surface should be touch dry before proceeding.
✅ Apply the Second Coat
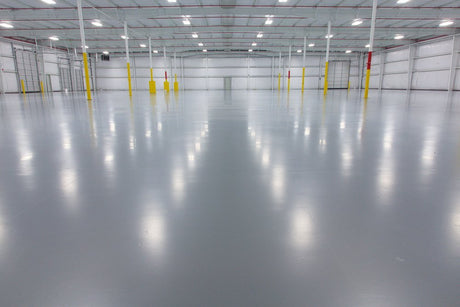
Mix a new batch using the same method and apply the second coat within 24 hours of the first. This coat will provide:
-
Full colour depth
-
High-gloss finish
-
Enhanced chemical and abrasion resistance
Let the second coat cure for 12–16 hours before walking on the surface. For vehicle traffic, wait 48 hours. Avoid cleaning or exposing the floor to water for 7 days, after which full chemical resistance will be achieved.
🧼 Step 5: Aftercare and Maintenance
Now that your floor is finished, maintenance is simple:
-
Clean with mild detergents (no acidic or alkaline cleaners)
-
Avoid dragging sharp objects across the surface
-
Recoat only when surface dulls or wears—typically every 2–5 years
🛒 Related Products You May Need:
📸 Show Off Your Work
We love seeing your transformations!
Send us photos or videos of your finished epoxy floor to sales@premiumpaints.co.uk and we’ll send you a 10% discount code for your next order if we feature your images on our website.
❓ Questions or Advice?
If you have any questions about product suitability, floor prep, or installation, don’t hesitate to contact us:
-
📞 01909 495708