Why Cleaning Your Patio Before Sealing is Important
Cleaning your patio or driveway and ensuring it is sealed does more than make it look good; it also greatly extends its lifespan. Cleaning your patio is always the crucial first part in the process before applying patio sealer. It serves as the sound foundation for removing dirt, moss, and algae that can compromise how well patio sealer adheres. Without cleaning, you may trap grime beneath the protective layer, reducing the appearance but also causing permanent damage. Whether you’re protecting against dirt, unpleasant marks, or environmental wear, the payoff of investing in cleaning your patio before sealing is undeniable.
Why Cleaning is Crucial Before Using Patio Sealer
You’ve just finished the process of sealing your patio to discover that the finish is patchy, dull, and uneven; this is the reality when you don’t clean the surface of your patio. A clean base is essential for the patio sealing to be absorbed properly and for an even, uniform coating.
A thorough clean helps to remove loose debris like grit, moss, and algae, preventing these materials from becoming permanently ingrained when you seal your patio. It also ensures the sealant adheres evenly, avoiding blotches or discolouration across your patio. If you’re using a colour-enhancing sealer, cleaning ensures that the natural hues appear intensified across the entire surface rather than dull or blotchy. Furthermore, deep cleaning enhances the longevity of your sealant, as it bonds better it doesn’t need reapplying as soon, saving you time, effort, and money.
Before You Begin Cleaning Your Patio: Essential Preparations
Before you start preparing to clean your patio, there are some essential steps to follow to ensure a smooth cleaning and sealing process:
- Clear the area — Remove any garden furniture, pots, and any obstacles from the patio to have full access to the area.
- Sweep the patio — If you’re not already, start regularly sweeping your patio with a coarse-bristled brush to help prevent debris from becoming ingrained.
- Test your cleaning solution — Always test your cleaning solution on a small, hidden patch of your patio. Different types of paving and stones react differently to various cleaners.
- Check the weather — You always want to seal in moderate temperatures (between 5–25 °C) and in dry conditions; aim for a dry spell with at least 24 hours before and after application.
- Prioritise health & safety — When using harsh chemicals, protect yourself with gloves, boots, eye goggles, and other protective equipment.
Protect yourself with our safety equipment
Step-by-Step Guide To Cleaning Your Patio
Initial Sweep and Debris Removal
Always start with a thorough sweep to remove all loose dirt, leaves, and patches of moss on your patio. Removing the surface debris will make your deep cleaning more effective.
Basic Cleaning with Soapy Water
A gentle solution of warm water and washing-up liquid will help to remove surface dirt and grime. Pour a full bucket of this mixture onto the slabs and scrub rigorously with a hard-bristled brush. Rinse this off with clean water and let this dry.
Deep Cleaning for Stubborn Stains and Growths
For a deeper clean for persistent marks, always use specialist products. As always, follow the section on the bottle and test on a small area to see how it reacts with your paving. Different stains are easier to remove with different products:
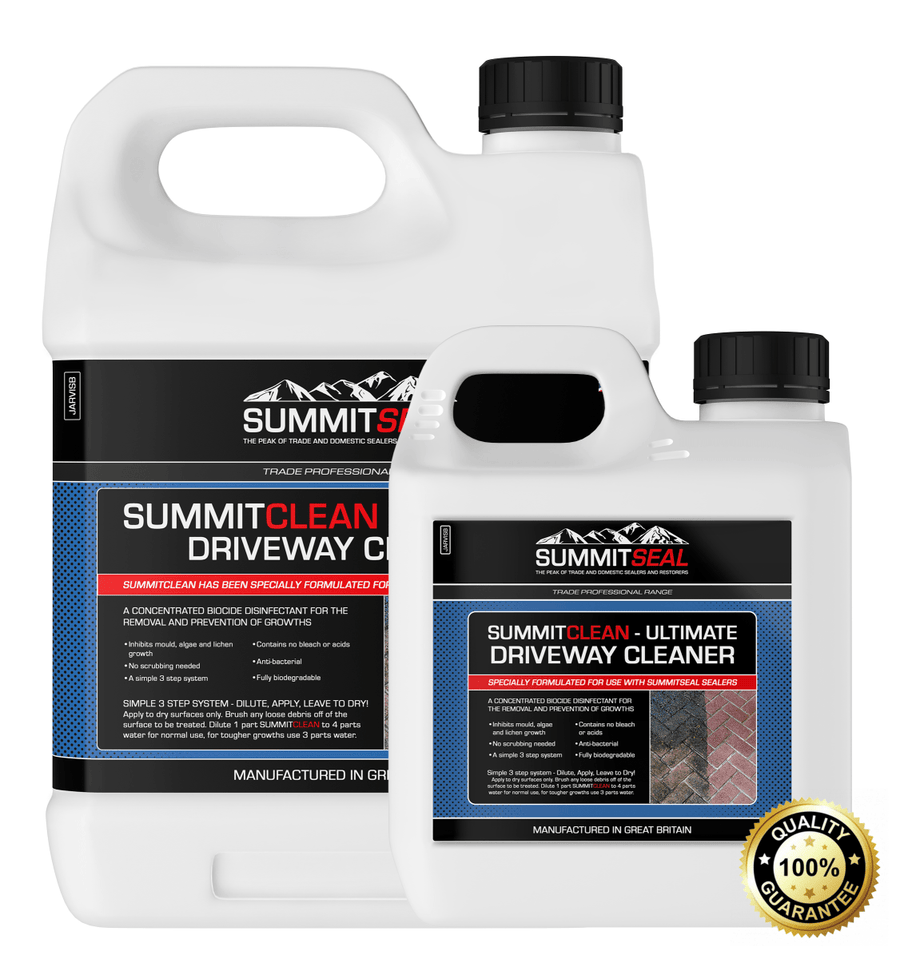
- General ingrained dirt — Use a specialist paving cleaner like SummitClean Ultimate Driveway Cleaner for patios and driveways.
- Efflorescence (white powder) — Use a salt residue remover such as SummitSeal Efflorescence/Salts Remover, which is suitable for stone and paving.
- Oxidation and rust stains — Use a specialist remover that’s safe for your stone type.
- Grease and oil spills — Blot as soon as spills happen, then apply SummitSeal Oil Stain Remover, followed by a general cleaner.
- Jointing and grout residue — Use a product designed to dissolve resin or grout before rinsing away.
- Moss and algae — A treatment like SummitClean Ultimate Driveway Cleaner helps to remove biological buildup and inhibits regrowth.
Pressure Washing
Although pressure washers seem like a quick way to get results, pressure washing can damage grout, erode stone, and worsen surface stains. If you do choose to use a pressure washer, ensure the nozzle is ~50 cm away and move steadily to avoid etching or damage.
Drying The Surface
After cleaning, it is vital that you allow your patio or driveway to dry completely. For best results, wait at least 24–48 hours before applying any sealant or paint. The patio must be dry to ensure that the sealant can be properly absorbed and applied evenly, preventing a patchy finish.
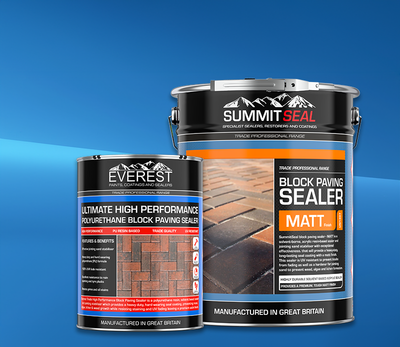
Your Patio Is Clean? So What Is a Patio Sealer?
Once your patio is clean and bone-dry, it’s time to apply patio sealer. A good patio sealer protects against staining, moisture ingress, frost damage, and environmental wear. Sealants also help to retain colour and sheen; a ‘wet look’ finish can enhance the aesthetic appeal. Always choose a trusted sealer, no matter what your patio is made from:
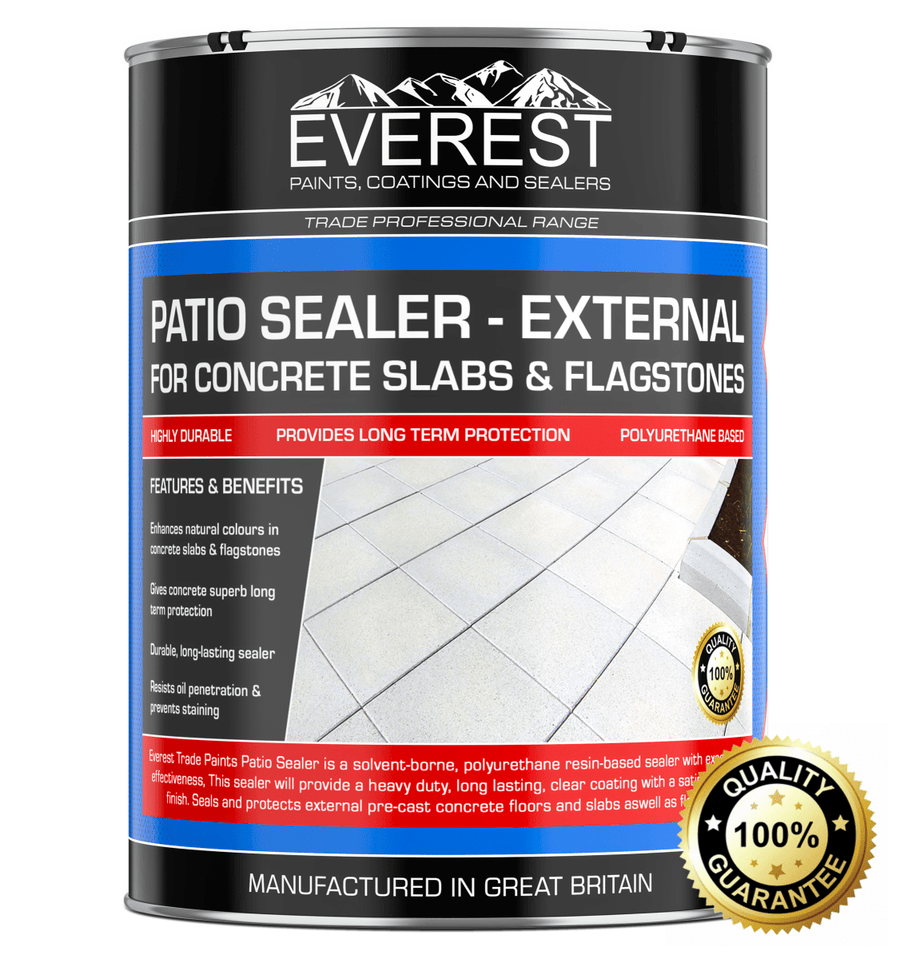
- Everest Trade Patio Sealer for Concrete Slabs and Flagstones — Robust protection and an excellent finish.
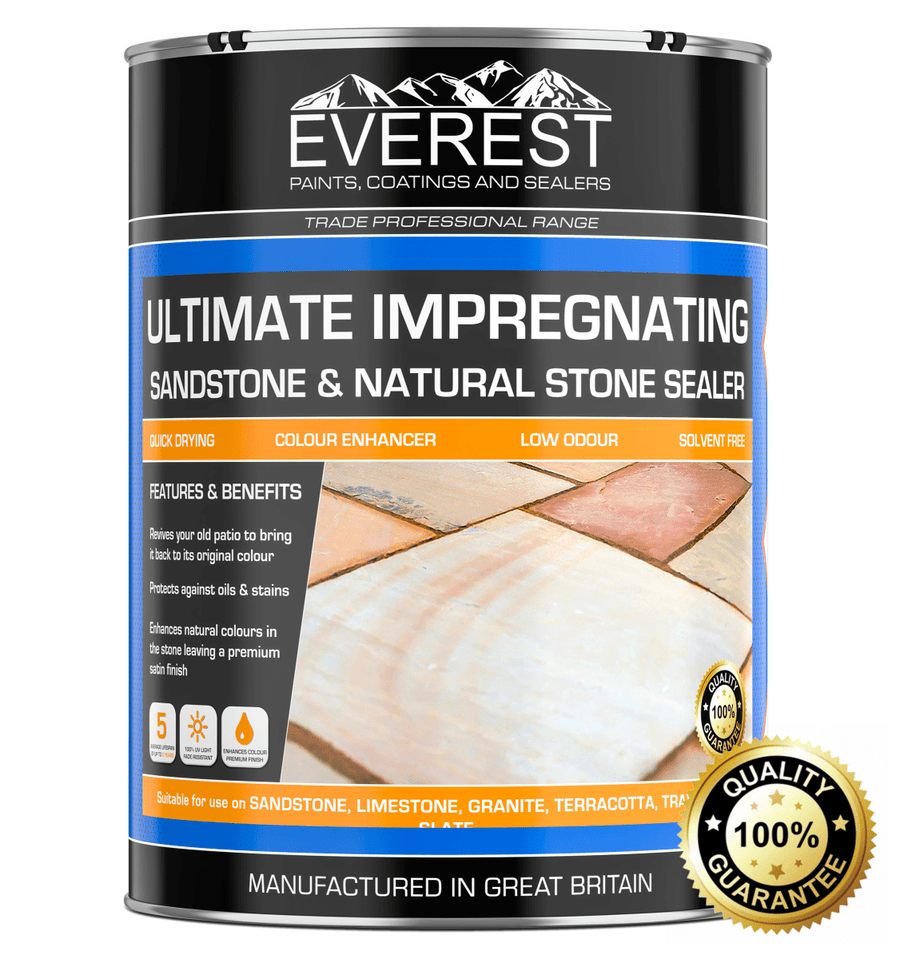
- Everest Trade Ultimate Sandstone & Natural Stone Sealer — Satin finish for natural stone.
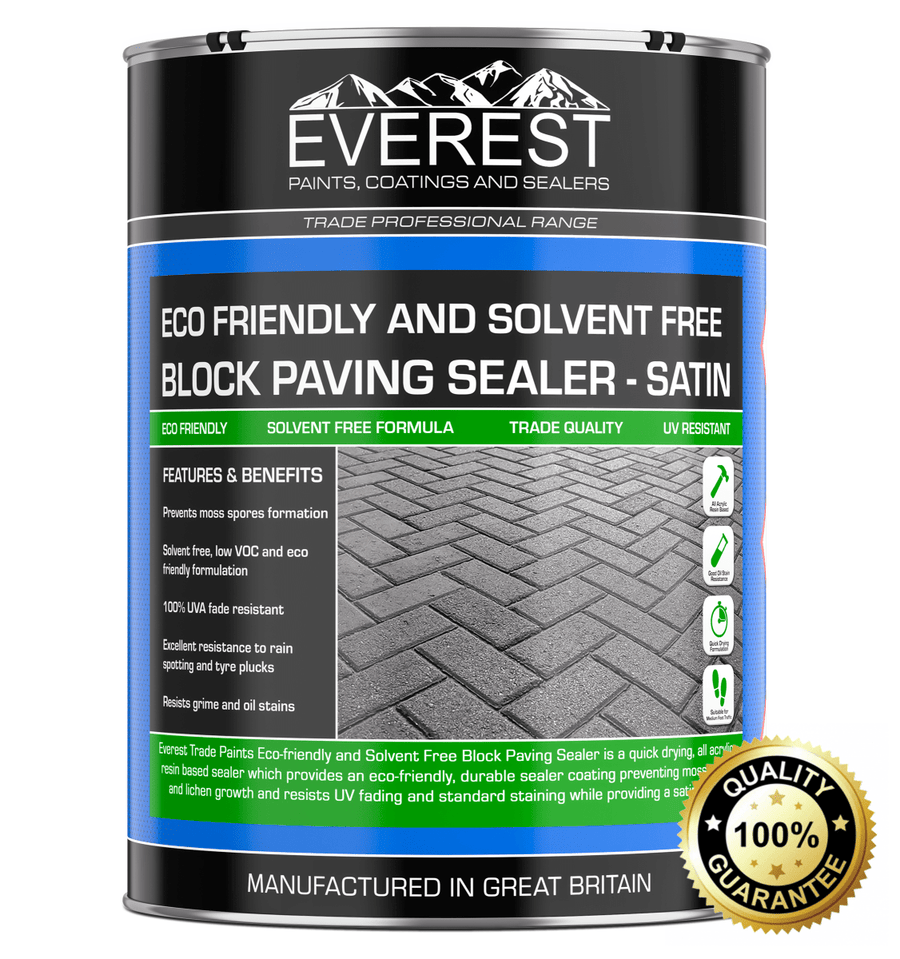
- Everest Trade Eco-Friendly Solvent-Free Block Paving Sealer — Satin, low-impact formulation.
Explore our full range of patio sealants