DIY Driveway Sealing: The Complete Step-by-Step Guide With Expert Reasoning
DIY driveway sealing can deliver professional results when you understand why each step matters. This UK-focused guide shows you how to choose the right driveway sealer for imprinted concrete, tarmac/asphalt, block paving, and standard concrete—then walks you through prep, application and curing so your driveway looks great and lasts.
Why Use A Driveway Sealer (And What Happens If You Don’t)?
-
Weather protection & freeze-thaw defence - Driveway sealing creates a barrier against rain, snow, and UV. If water soaks into concrete or asphalt driveways, it expands when it freezes, prying the surface apart from within. If you don’t protect against the weather, microscopic voids enlarge into cracks and potholes, accelerating the deterioration every winter.
-
Crack prevention & surface strength - Driveway sealers fill micro-cracks and harden the surface so new cracks struggle to form. If you don’t seal, tiny hairlines become water pathways; repeated weather will widen them, until repair is your only option.
-
Stain resistance & easy cleaning - Concrete is porous. A quality driveway sealer blocks oils, grime, salts, and algae from penetrating, so spills wipe off the top. Without sealing, oil and organic stains soak in, causing dark blotches or green growth that are hard to remove and may etch the surface.
-
Curb appeal & colour enhancement - Sealing gives a glossy ‘wet look’, subtle satin, or a natural matte that matches your home. Without sealing, your driveway can look chalky and patchy wear will begin to show.
- Cost-effectiveness - Investing roughly £69–£169 in driveway sealer can prevent repairs that are expensive. Crack repair ranges from £400–£1,200, with resurfacing costing £2,000–£4,500, and replacements costing £6,000–£12,000+. Without sealing, you leave yourself open to big financial losses.
Understanding Driveway Sealers
Not all sealers are the same. The best choice depends on the surface you’re sealing—whether that’s block paving, concrete, imprinted concrete, tarmac or natural stone—and the finish you want. Here’s a breakdown of the main options used in the UK market:
-
Water-based acrylic (incl. silane-modified) – Available in Dry/Natural, Colour Enhancer and Wet Look. These sealers are low odour, easy to apply, and quick-drying. Silane-modified grades add deeper water repellence and better durability on porous materials such as block paving and natural stone.
-
PU 1K (polyurethane) – A tougher, film-forming option supplied in Matt and Silk. It creates a more durable, flexible layer that resists wear and often enhances colour with a subtle wet-look effect. Ideal for block paving and concrete where longevity is important.
-
Solvent-based acrylic – Traditionally used on imprinted concrete and also suitable for block paving or standard concrete. Available in Matt and Silk, it produces strong colour enrichment and a robust film that protects decorative surfaces.
-
Specialist blends – Certain sealers are tailored to specific uses, such as water-based tarmac paints for refreshing asphalt driveways, or enhanced acrylics for natural stone patios. These balance protection, breathability and slip resistance without masking the natural look of the surface.
When selecting your driveway sealer, keep these factors in mind:
-
Compatibility – Match tarmac with water-based acrylic; concrete with PU, solvent-based acrylic or water-based acrylic; natural stone with silane-modified water-based acrylic.
-
Breathability – Helps prevent cloudiness and blistering by allowing trapped vapour to escape.
-
Slip resistance – Important for driveways and patios; silane-modified water-based acrylics preserve natural grip, while film-forming options may need anti-slip additives.
-
Finish goal – Decide whether you want a natural dry look, a subtle colour boost, or a bold wet-look effect to suit your property.
-
Protection level - Harsh climates or heavy contamination demand robust protection.
Which sealer suits each UK surface?
Use this quick selector to pick the right driveway sealer for your material. We focus on chemistries relevant to UK projects: water-based acrylic (including silane-modified grades), PU 1K (polyurethane), and solvent-based acrylic.
| Surface | Recommended Chemistries | Why this choice works |
|---|---|---|
| Imprinted Concrete (stamped) | Solvent-based acrylic | Proven film for decorative patterns; lifts colour and protects the imprint from wear. |
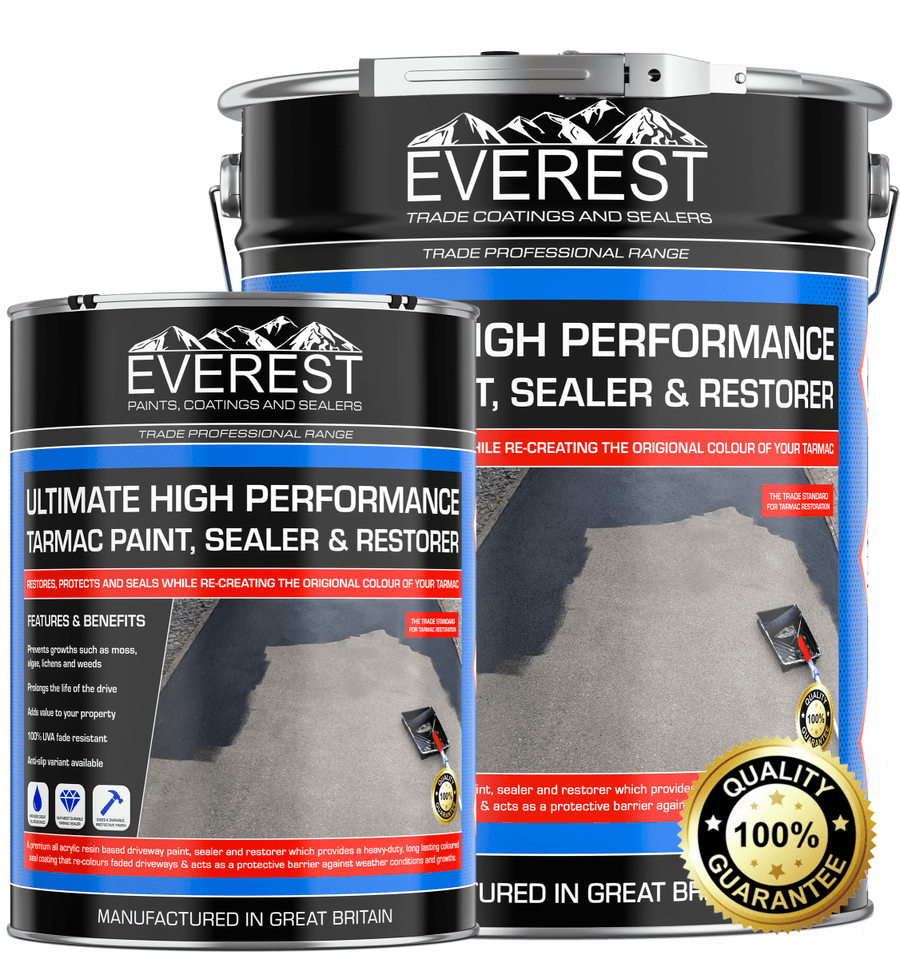
| Tarmac / Asphalt | Water-based acrylic “tarmac paint/sealer” | Refreshes colour, seals and helps bind light fretting; bitumen-safe with quick drying. |
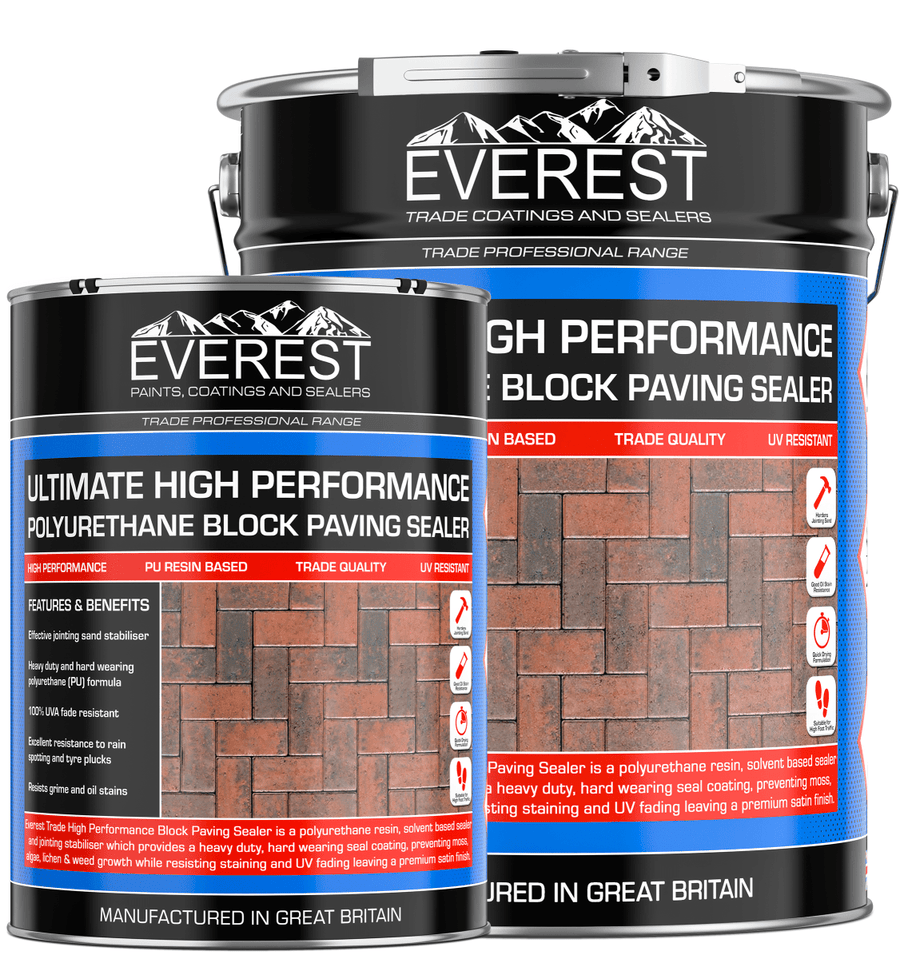
| Block Paving | PU 1K (primary); water-based acrylic with silane; solvent-based acrylic | PU gives the toughest film and longer maintenance intervals. Silane-modified WB acrylic balances breathability and repellence; solvent acrylic for strong colour enrichment. |
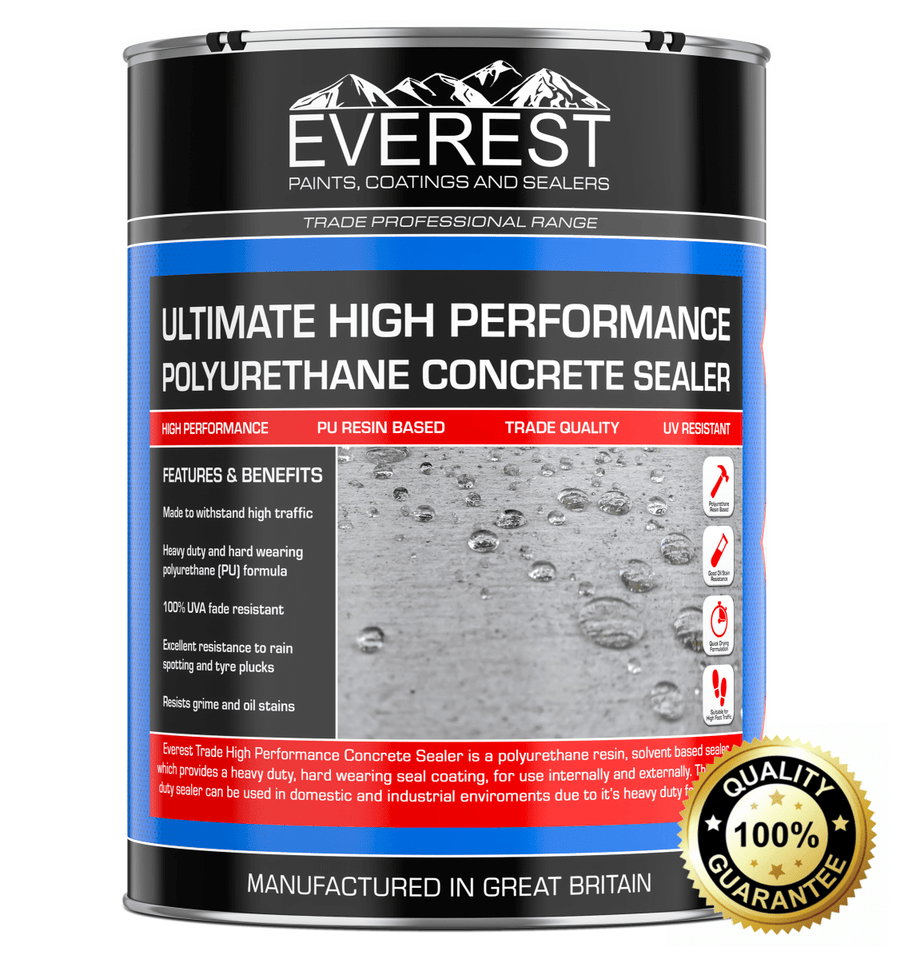
| Concrete (non-imprinted) | PU 1K; water-based acrylic; solvent-based acrylic | PU for high durability; WB acrylic for low odour and flexible looks; solvent acrylic for a bold, enriched finish. |
| Natural Stone (driveway borders/areas) | Water-based acrylic with silane | Preserves natural texture and improves repellence; choose from natural dry to wet-look appearances. |
Finishes & appearance (what to expect)
- Water-based acrylic (incl. silane-modified): available as Dry/Natural, Colour Enhancer and Wet-look. Low odour; quick drying.
- PU 1K (polyurethane): supplied in Matt and Silk. Often creates a wet-look darkening on block paving and concrete due to film build.
- Solvent-based acrylic: typically Matt and Silk. Strong colour pop, popular on imprinted concrete.
- Tarmac paint/sealer (WB acrylic): Matt and Satin to refresh and protect asphalt drives.
Does your driveway need sealing now?
The simple answer to this question is yes. The benefits of sealing massively outweigh the negatives. However, if you’re unsure, there are some things to look out for to see if your driveway requires sealing:
- Water test: If water darkens and soaks in, protection has gone—time to reseal.
- Dull, dusty or patchy look: Indicates worn film and uneven absorption.
- Recurring oil or green growth: The surface isn’t repelling contamination; stains set deeper.
- Hairline cracks / roughness: Early stress—sealing helps limit water ingress.
- Overdue reseal: Acrylics are typically 2–3 years; PU can extend intervals depending on use and exposure.
- New concrete: wait 28–30 days before sealing.
- New tarmac: allow several months to weather/firm (check supplier guidance).
Tools & materials
- Pressure washer & stiff broom: remove dust/laitance that blocks adhesion.
- Degreaser & oil-stain remover: essential where vehicles park.
- Efflorescence remover (concrete/block): clears salt bloom for even uptake and colour.
- Crack filler / jointing sand (block): stabilise before sealing.
- Low-pressure sprayer / roller: apply thin, even coats.
- Masking & sheeting and PPE: protect surroundings and yourself.
Step-by-step: prep → apply → cure
1) Preparation
The first stage of DIY driveway sealing is preparing your driveway:
- Clear & edge: remove vehicles, pots and weeds; tidy edges for a neat line.
- Repairs: fill cracks/pits; re-sand block paving joints where needed.
- Decontaminate: degrease oil spots; use oil-stain remover if needed; rinse well.
- Treat efflorescence (if present): apply remover; rinse thoroughly.
- Deep clean: pressure wash; flush debris from pores/joints.
- Dry thoroughly: allow 24–48 hours of dry weather; substrate must be dry to the touch (and joints dry for block paving).
2) Application
When it comes to applying the driveway sealer, there are many crucial things to consider and steps to follow for easier application:
Pick the right day:
- Dry and mild weather is the ideal condition, between 10–30°C with low humidity.
- The application needs to be dry, to ensure there's no rain for 24–48 hours before and after application.
- Avoid direct midday sun; work early in the morning or late afternoon.
Mix the sealer thoroughly:
- Stir with a paddle or drill until fully combined.
- For easier mixing, invert the unopened driveway sealer the night before.
- To reduce splashing during drill mixing, cut a small hole in the lid’s centre rather than removing the full thing.
Cut in edges:
- Use an old, wide paintbrush along all borders for full, accurate coverage.
- Aim for generous coverage to fully wet the pores and create a neat frame.
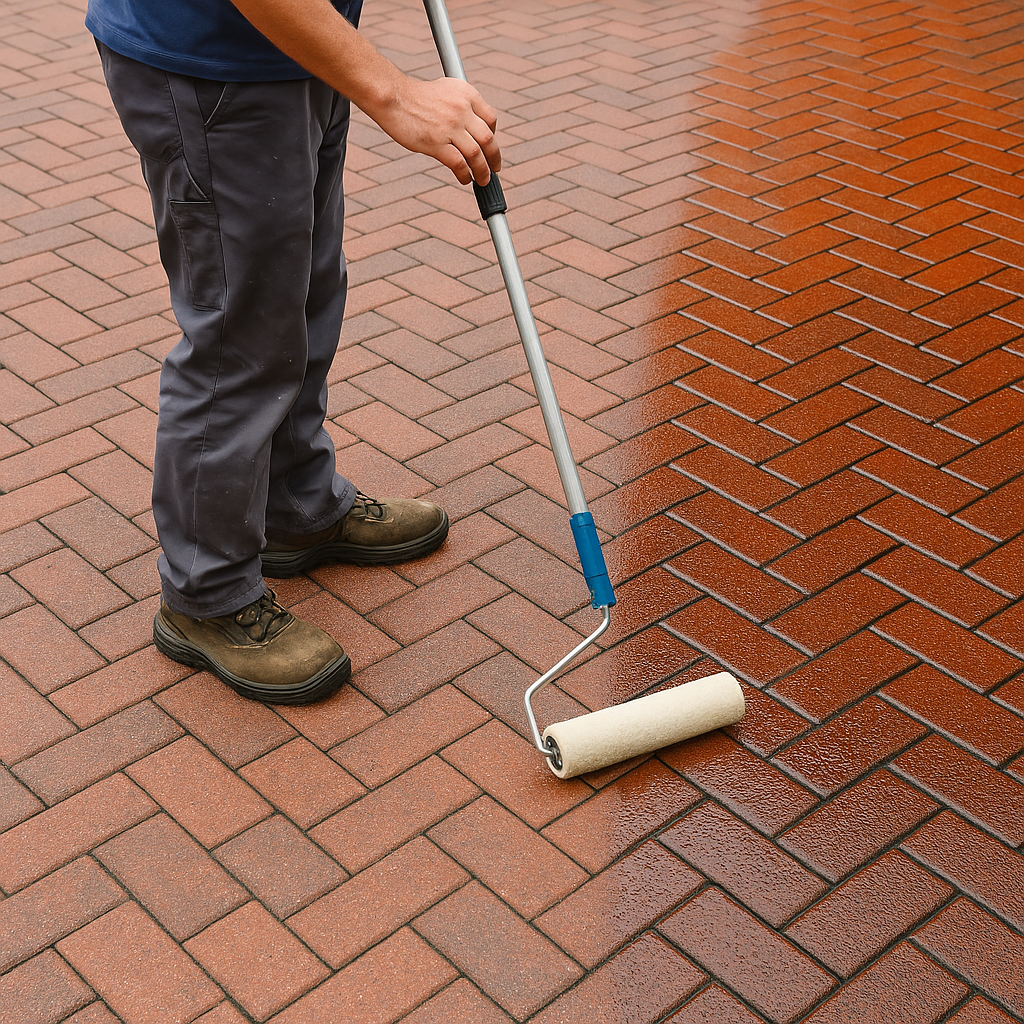
Apply the first coat to the main area:
- Pour the driveway sealer in a U-shape, starting at the top corner.
- Spread the sealer thinly and evenly with a squeegee, roller, or broom.
- Overlap strokes slightly to prevent gaps with the sealer.
- Avoid puddling; you want the sealer to sink in for adhesion, not puddle on top.
- If you spot puddling, back-roll with a dry roller to remove excess.
Allow proper dry time between coats:
- Let the first coat dry as directed, typically between 2–8 hours.
- Never rush when applying; adding layers too soon can cause uneven coverage and reduce durability.
Apply a second coat (only if recommended):
- Check the manufacturer’s instructions; some driveways need one coat, others two.
- If needed, apply the second coat after the first is touch-dry, often 1–2 hours later.
- For evenness, change direction on the second coat, cross rolling for distribution.
3) Drying & curing
Your driveway coating needs proper time to dry and coat before being used. It's vital not to ignore these for proper adhesion that lasts:
Wait times before use - Extra weight and hot tyres can lift uncured film.
- Foot Traffic - Up to 24 hours.
- Vehicle Traffic - Up to 48 hours.
Block off the area - Don’t allow pets or people to walk over it; tracked sealers can cause marks that can’t be removed.
Avoid moisture - Don’t allow moisture on the driveway for at least 3-5 days; moisture can cause whitening and cloudiness from moisture intrusion.
Post-sealing maintenance
- Sweep regularly: remove abrasive grit.
- Clean spills promptly: reduce dwell time of oil/contaminants.
- Rotate parking spots: distribute heat/load on high-use areas.
- Top-up as needed: typical intervals: water-based acrylic every 2–3 years; PU can last longer depending on use/exposure.
Common DIY mistakes (and how to avoid them)
- Sealing damp/dirty surfaces: #1 cause of whitening and poor adhesion—let it dry fully.
- Heavy coats/puddling: leads to slow cure, slipperiness and dust pick-up—keep coats thin.
- Wrong chemistry for the surface: use tarmac-safe WB acrylic on asphalt; solvent acrylic on imprinted concrete; PU or WB acrylic on block paving/concrete; silane-modified WB acrylic on natural stone.
- Skipping decontamination: oil and efflorescence undermine bond and uniformity.
- Bad weather timing: heat can flash-dry; cold slows cure; rain risks wash-off/clouding.
Shop by surface
Everything you need—driveway sealers, driveway paint for tarmac, cleaners, oil-stain removers and efflorescence treatments—curated for UK driveways.
Block paving Concrete Imprinted Concrete Tarmac/asphalt All driveway coatings